Cluster campaigns are an excellent way to create campaigns using the built-in AI keyword clustering capabilities of Ad Alchemy.
Watch the step-by-step guide on how to create a cluster campaign.
You can follow along step-by-step with the visual guide below.
1. To begin, hit the 'Targeting & Keywords' menu item.

2. Select the 'New' button.

3. Now select 'Keywords Cluster'.

4. Either load your existing keywords here...

5. Or else paste them in manually here.

6. Next step, refine your keywords.

7. Save your cluster so you can use it again later.

8. Provide a brief description.

9. Now click "Save".

10. On this screen, we'll refine our keywords based on how well our AI predicts they will convert. This will help give you a head start in your campaigns to ensure that you're not wasting money on campaigns that are less likely to convert.

11. To begin the process, select 'Start'.

12. You should manually go through these lists to make any adjustments. Remember, the AI will have an attempt at filtering these keywords, but ultimately, you should check these keywords to make sure you're not excluding any keywords you know will convert. There are three lists: Keywords to Not Include, Keywords to Manually Review, and Keywords to Include. Use the plus and minus sign to move keywords between lists. Only the keywords to include will be included in your final clustering process.

13. You can filter each group using these icons.

14. A good approach to this is to remove all the keywords that you don't want to include, and then once you're happy, select all.

15. Then hit the plus icon, and they will all move into the Google Keywords Ready to Cluster list.

16. You can confirm this move by clicking 'OK'.

17. You are now ready to proceed to the next step: 'Cluster Keywords'.

18. On this screen, we can generate the cluster. You can set the parameters of the cluster here. We suggest using "Cluster by Meaning" with an accuracy of 80 to 90 and a minimum cluster size of two.
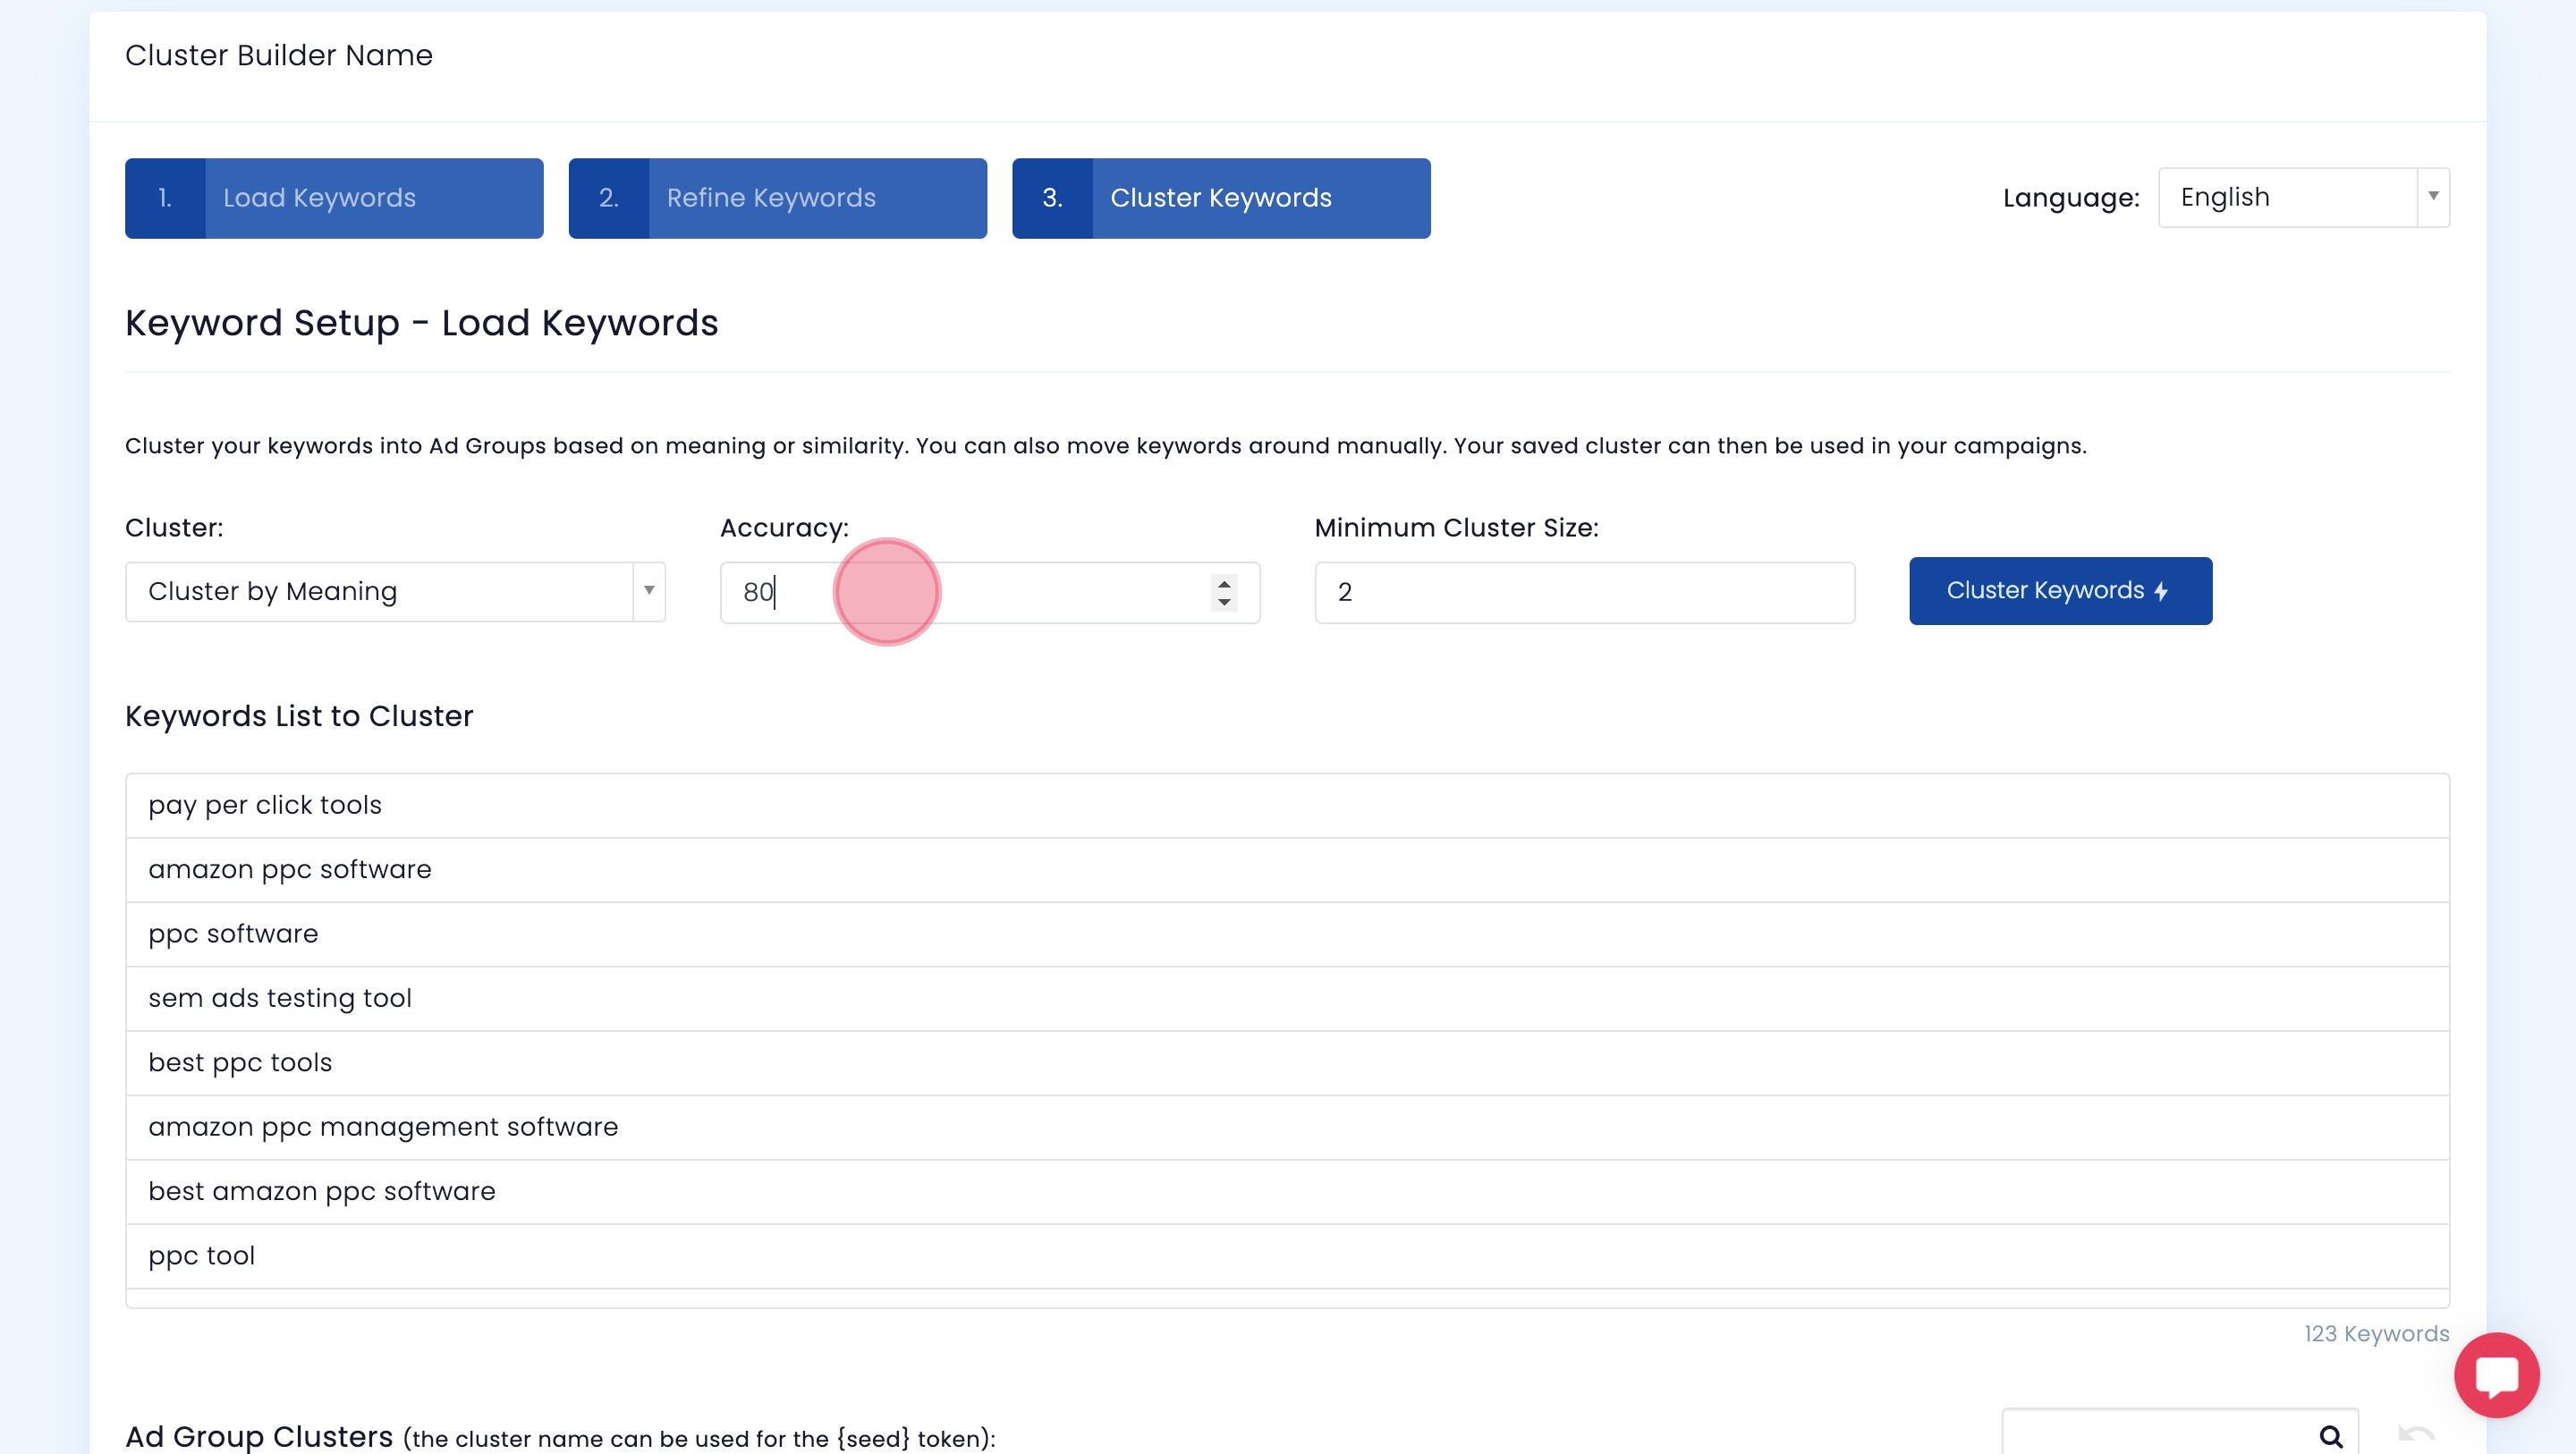
19. Once you've set your settings to your liking, click 'Cluster Keywords'.

20. Ad Alchemy has now clustered all the keywords into groups based on their meaning.

21. If you want to manipulate the keywords or clusters, you can use the action menu item here. For example, we'll delete this cluster.

22. Just confirm deleting this cluster.

23. You can manually move keywords around the clusters. This allows you to fine-tune the clusters and fix any mistakes that the AI may have made.

24. You can also select multiple keywords.

25. Then using the 'Action' menu again.

26. You can delete multiple keywords.

27. Once again, confirm this action by finalising it with 'OK'.

28. All the keywords that the AI could not find a cluster for will appear in the "No Cluster" group. You can either move these manually into the right clusters, or else once again use the Action menu.

29. Then delete the cluster.

30. Once you confirm, they will all appear in the Delete Keywords group. These are not included in your cluster campaigns.

31. You can also manually add new clusters using the "Add Cluster" button.

32. Just give it a cluster name.

33. And then add your keywords. You can also add bulk keywords using the link to the right.

34. Once you have added them, hit the save button.

35. You can also export these clusters in case you wish to use them for other purposes like search engine optimization.

36. Once you have finished, you can save your cluster and it will be available for use in your cluster campaigns. These cluster campaigns will create a unique ad group for each cluster. The AI ad writing functionality can then write unique ads for each ad group.